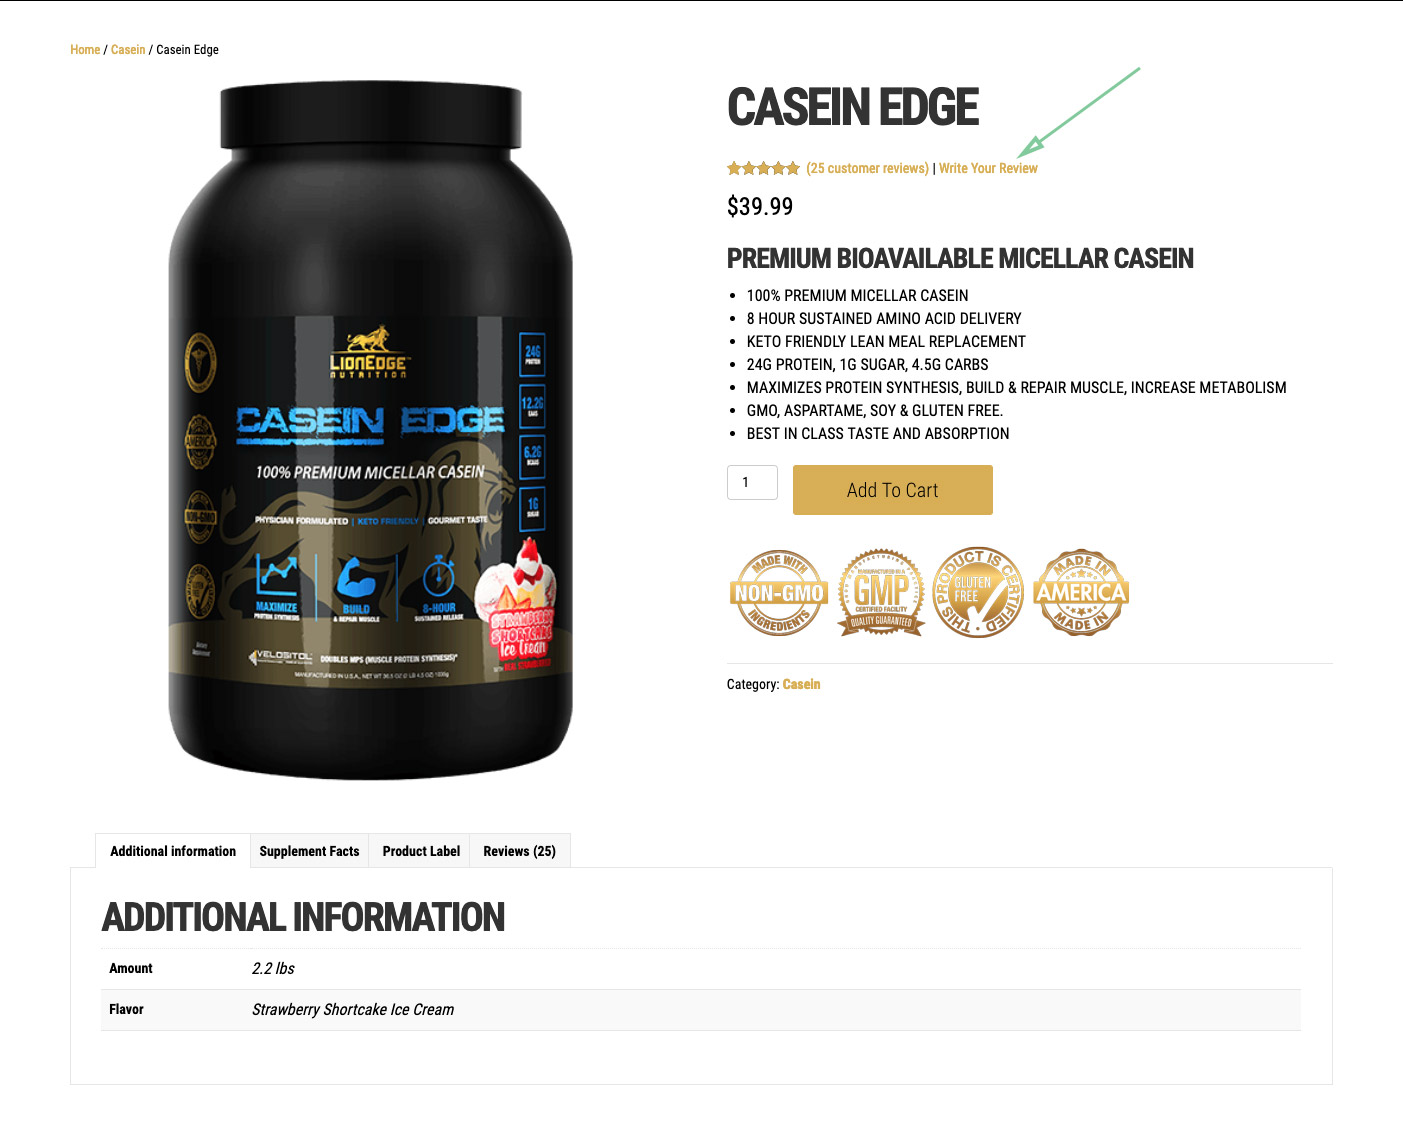
In this particular use case, the Description Tab of the product wasn’t being used; only the “Short Description” which shows up at the top right. The long description shows under the product in the tabs panel. The content area will be placed at the bottom of the page (after the product tabs and before the footer) and able to be edited by Beaver Builder.
Obviously, make sure you have Beaver Builder installed and your post type settings should have “Products” ticked. This article will require you to create a couple template files in your theme directory and add a few lines of code to your functions.php file.
*This does not work well with the Custom Product Tabs for WooCommerce. As of this post date, the plugin itself doesn’t seem to work well with Beaver Builder being activated and used in the main content area.
** See update at bottom for the solution on Custom Product Tabs
Remove Description From The Tabs
What I did was remove the Description Tab from the tab panel so I could utilize the content of that for Beaver Builder. To do this you’ll need to add a filter that unsets the “Description” from that panel.
add_filter( 'woocommerce_product_tabs', 'sd_remove_product_tabs', 98 );
function sd_remove_product_tabs( $tabs ) {
 unset( $tabs['description'] );
 return $tabs;
}
Create The Template Files
Since WooCommerce is constantly updated, you may need to reference the default template files relative to your version number. I’ve used v3.5.0 in this example to copy the template files to my theme and then I’ll add the modifications below. If your theme already has single-product.php and/or content-product.php I’ll be highlighting the code necessary to make this work.
single-product.php
Beaver Builder needs to use the while loop in order to work properly. Without that you wont have any editable regions.
Essentially, we’re just adding the while loop and asking for the contents of content-product.php file inside of that.
<?php
 if ( have_posts() ) :
 while ( have_posts() ) :
 the_post();
 get_template_part( 'content', 'product' );
 endwhile;
 endif; ?>
You can see where I added that to my file below.
content-product.php
This file just wraps the content in Beaver Builder classes and actions.
Update:
Carlos at Beaver Builder was able to provide a solution to help with Custom Product Tab plugins. I haven’t tested this on all those plugins, but theoretically this should work. Because most of the plugins seemed to use the_content filter to filter and display the content in those tabs, beaver builder was duplicated on the page and tabs. Add this to your functions.php file to remove the filter in the tabs and to make beaver builder work properly on the product page. This particular code is for use with Yikes WooCommerce Custom Product Tabs, so it would need adjusted based on which Tab plugin you’re using.
add_filter ( 'yikes_woo_use_the_content_filter', '__return_false' );

Let me know in the comments below if you have any issues. I’ll do my best to answer questions and help to further add more detail to this article.


